You can absolutely grow cos (romaine) lettuce from a cutting, and it works best when you use the base stump of an existing plant or a fresh store-bought head. Trim the leaves down to about 1 inch (2.5 cm) from the bottom, blank" rel="noopener noreferrer">sit the stump in a shallow dish of water, and within 7–14 days you'll have roots ready for planting. It's one of the easiest regrow projects in the garden, and once you get the hang of rooting and transplanting correctly, you can keep a near-constant supply of fresh cos lettuce going with very little cost.
How to Grow Cos Lettuce From Cuttings Step by Step
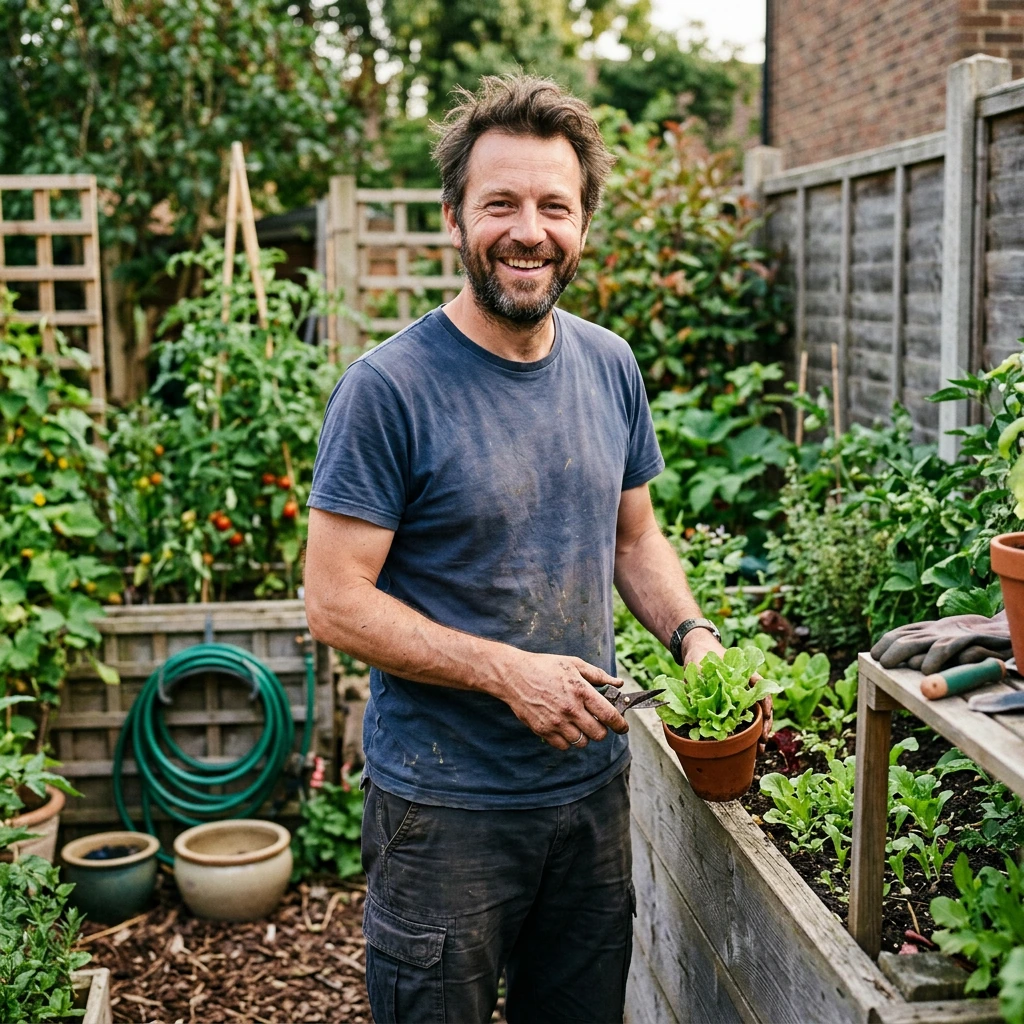
Marcus Holloway
5 Jun 2026
What 'cutting' actually means for cos lettuce
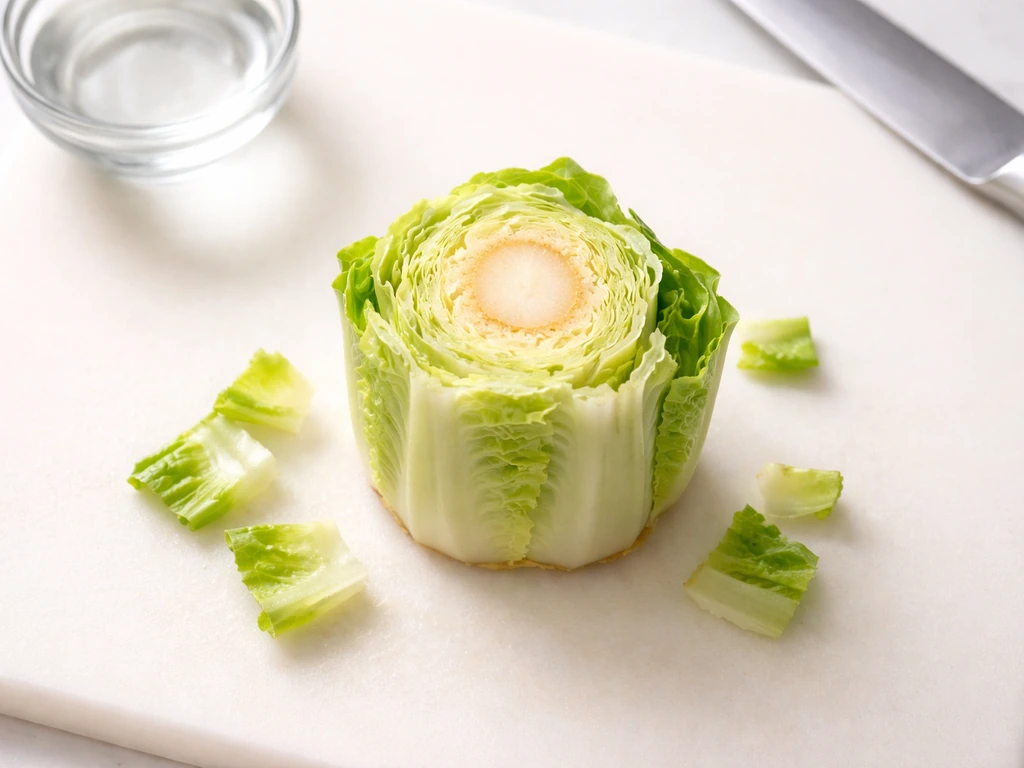
Cos lettuce isn't propagated from a stem cutting the way a houseplant or herb might be. Instead, you're working with what's called a stump or base cutting: the dense, short section of stem left over after the leaves are removed. This is the part that still contains the growth point, which is what you actually need to produce new leaves and, eventually, roots when placed in water or moist soil.
You can source this cutting from two places. The most common is a fresh cos or romaine head from the supermarket or a farmers' market. Just use the head normally, eat the leaves, and keep the bottom 2–3 inches (5–7.5 cm) of the stump. Alternatively, if you have an existing plant in the garden or a pot, you can harvest the outer leaves and cut the plant at the base, leaving a short stump with its roots intact for replanting. Both work, but the supermarket stump method is where most beginners start because it costs nothing extra.
One thing to be clear about: this is a regeneration technique, not true stem-cutting propagation. You won't get a genetically new plant from a leaf or a mid-stem segment. The stump already has a compressed stem structure packed with the meristematic tissue that drives regrowth. That's the part you're activating. If you try to root a single loose leaf, it won't work for cos lettuce.
Rooting in water vs. rooting in soil: which one to use
Both methods work, and I've had success with each. Water rooting is more visual and forgiving for beginners because you can actually see the roots forming, which takes the guesswork out of timing your transplant. Soil rooting is slightly faster once you get it right, but there's less margin for error with moisture levels.
Water rooting method (recommended for beginners)
- Trim the outer leaves off the stump, leaving about 1 inch (2.5 cm) of stem above the cut base. Remove any brown or slimy outer layers.
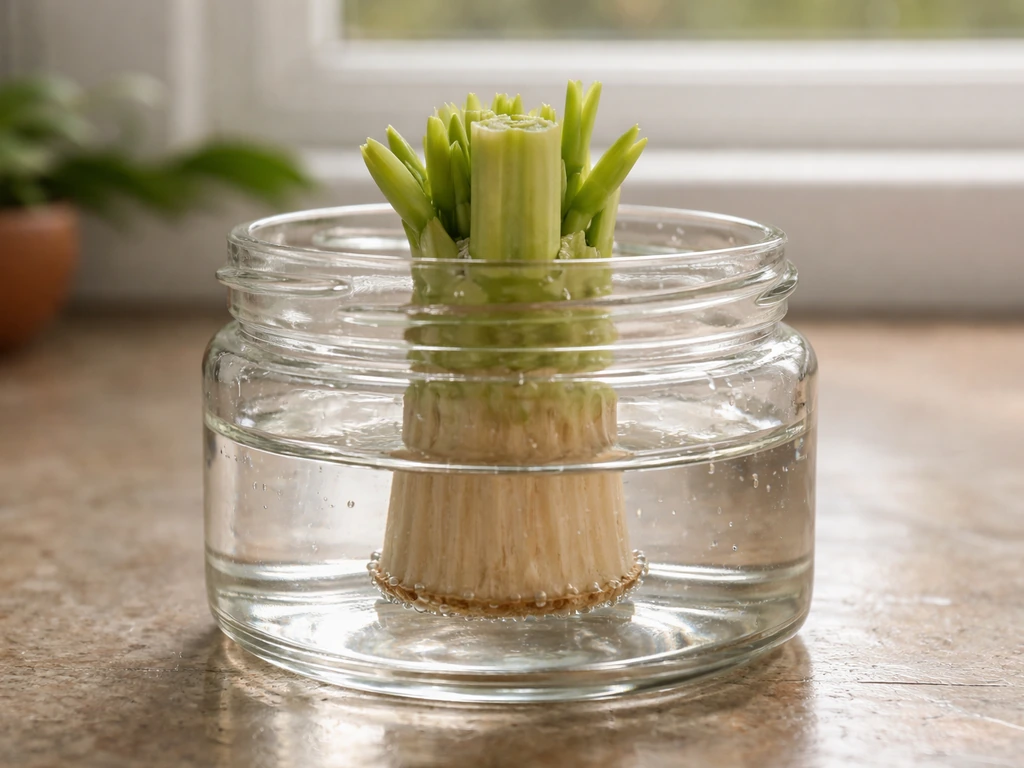
- Place the stump cut-side down in a shallow dish or glass with roughly 1/2 inch (1.2 cm) of water. You want the cut base submerged but not the whole stump.
- Set the dish somewhere with bright, indirect light. A windowsill with filtered sun is ideal. Avoid direct harsh midday sun at this stage.
- Change the water every 2–3 days. This is critical. Stale, warm water is the number one cause of rot at this stage.
- Within 7–14 days, you should see small white roots emerging from the base. Let them grow to at least 1–2 inches (2.5–5 cm) long before transplanting.
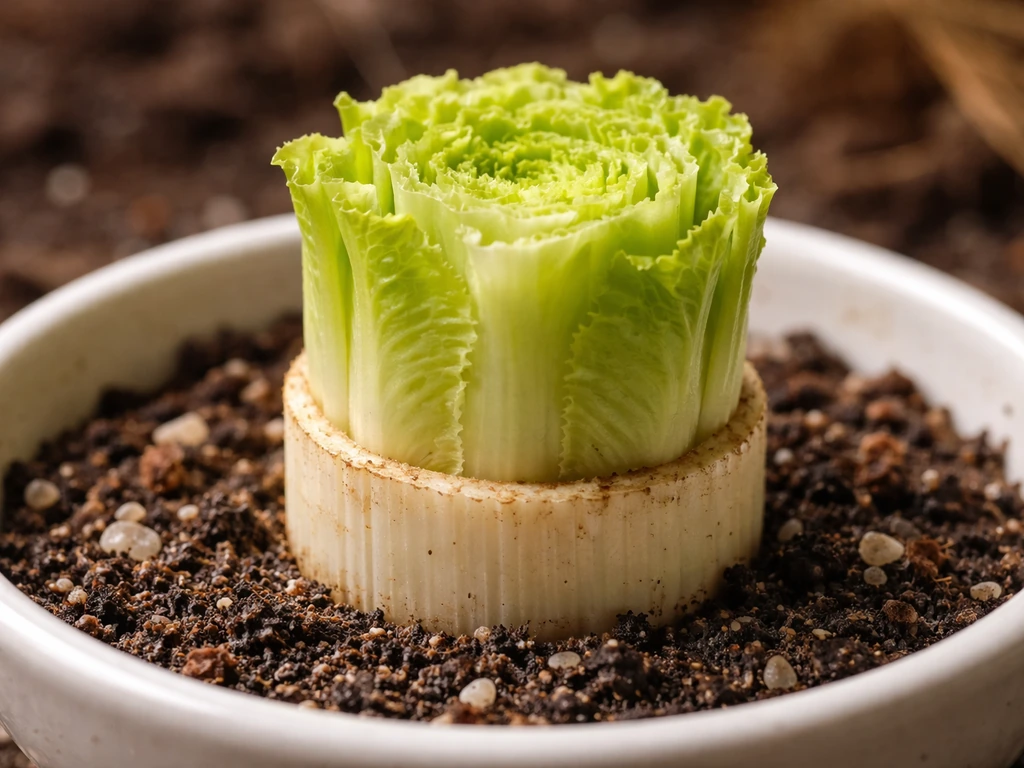
- You'll also see new leaf growth from the centre of the stump within the first week. That's a great sign the cutting is alive and active.
Soil rooting method (faster once established)
- Fill a small pot or cell tray with a light, well-draining mix such as seed-raising mix or a 50/50 blend of perlite and potting compost.
- Make a shallow hole about 1 inch (2.5 cm) deep and press the base of the stump in so it sits firmly.
- Water lightly so the mix is moist but not soggy, then cover the pot loosely with a clear plastic bag or humidity dome to retain moisture around the cutting.
- Keep in bright indirect light at 15–20°C (60–68°F). Check every 2 days and mist lightly if the surface looks dry.
- After about 10–14 days, give the stump a very gentle tug. Resistance means roots have formed. If it pulls out easily, give it more time.
- Once rooted, remove the humidity cover and begin treating it as a normal seedling.
| Factor | Water Rooting | Soil Rooting |
|---|---|---|
| Visibility of roots | Easy to see progress | No visibility until tug test |
| Risk of rot | Higher if water isn't changed | Lower with well-draining mix |
| Time to roots | 7–14 days | 10–14 days |
| Transplant shock | Slightly higher (roots adapted to water) | Lower (already in growing medium) |
| Best for | Beginners, indoor setups | Outdoor beds, experienced growers |
My honest recommendation: start with water rooting. The ability to watch roots develop gives you confidence, and it's much easier to catch rot early before the whole cutting is lost. Once you've done it a few times and understand what a healthy rooting stump looks like, try soil rooting for your next batch.
Care after rooting: light, temperature, and water
Once your cutting has a good root system, it needs to be treated like a proper young lettuce plant. Cos lettuce is a cool-season crop, and the conditions you provide at this stage will determine whether it thrives or sulks.
- Light: Cos lettuce needs 6–8 hours of light per day. Outdoors, morning sun with afternoon shade is ideal. Indoors, place it within 30 cm of a bright window or use a grow light set to 14–16 hours per day if natural light is limited.
- Temperature: The sweet spot is 15–20°C (60–68°F). Cos can tolerate down to about 7°C (45°F) once established, but young cuttings fresh from the water dish are more sensitive. Keep them away from heating vents, cold draughts, and direct midday sun above 25°C (77°F).
- Watering: Keep the growing medium consistently moist but never waterlogged. Water when the top 1–2 cm of soil feels dry. For containers, always check that drainage holes are clear. Lettuce roots will rot quickly if sitting in standing water.
- Humidity: Cos lettuce prefers moderate humidity. If you're growing indoors in a dry climate or during winter with central heating running, a light misting of the leaves every day or two helps prevent wilting and tip burn.
One thing I always do after transplanting a water-rooted cutting: I give it a 2–3 day hardening-off period in a shaded, sheltered spot before putting it in full sun. Water-adapted roots can be a bit soft and benefit from a gentle adjustment period. Skip this step and you might see sudden wilting even when the soil moisture is fine.
Transplanting into your setup: outdoor bed, indoor pot, or hydroponic system
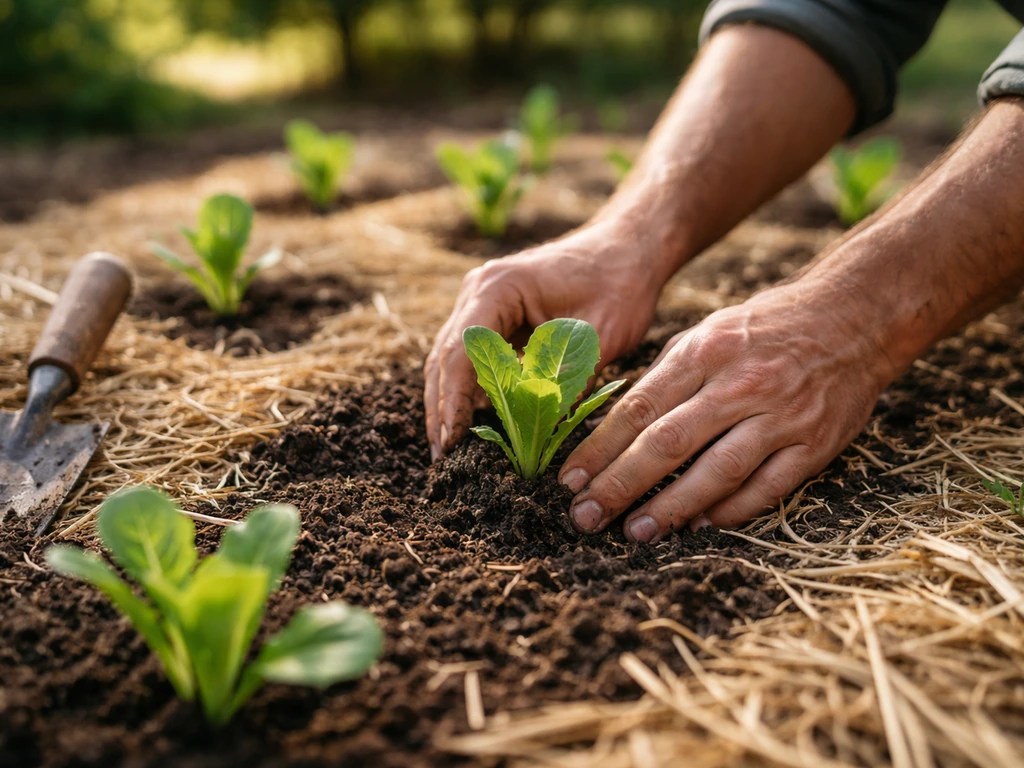
Outdoor garden beds
Choose a spot with morning sun and afternoon shade, particularly in warmer months. Amend the bed with compost before planting if the soil is heavy or clay-based. Cos lettuce is shallow-rooted, so the top 15–20 cm of soil quality matters most. Plant the rooted cutting at the same depth it was sitting in water or in the original pot, firm the soil gently around the base, and water in well. Space multiple cuttings 20–25 cm apart to allow room for the heads to form properly.
Indoor containers and pots
A pot at least 20–25 cm deep and wide is ideal for a single cos plant. Use a quality potting mix with good drainage, and make sure the pot has drainage holes. If you're transplanting multiple cuttings into a larger container, keep the 20–25 cm spacing rule in mind. Containers dry out faster than garden beds, so check moisture levels daily, especially in summer. For anyone growing cos in pots specifically, conditions and container choice deserve more attention than can fit here.
Hydroponic and water-based setups
Cos lettuce actually transitions very well from water rooting into a hydroponic setup, because the roots are already adapted to a water environment. Once roots are 2–3 inches long, you can transfer the cutting directly into a net pot filled with clay pebbles or rockwool and place it in a nutrient solution. Use a general hydroponic lettuce nutrient formula at half strength for the first week, then move to full strength. Maintain a pH of 6.0–7.0 and keep solution temperature below 22°C (72°F) to prevent root rot. Under a good LED grow light, hydroponically grown cos can be ready to harvest in as little as 4–5 weeks from rooting.
Realistic timeline: from cutting to harvest
I want to be upfront here: regrowing cos from a cutting is not the same speed as growing from seed. You're starting with an older plant structure, and while it does regenerate, it won't grow into a full, dense head quite as quickly as a plant grown from scratch from a quality seed. That said, it's still impressively fast for a food crop. In most cases, you can expect the regrowth process to lead to harvestable leaves within a few weeks, depending on conditions like temperature and light.
| Stage | Timeframe | What to expect |
|---|---|---|
| Initial leaf regrowth in water | Days 3–5 | New pale green leaves emerge from the centre |
| First roots visible | Days 7–10 | Small white root nubs at the base |
| Roots ready to transplant | Days 10–14 | Roots 1–2 inches long, plant growing actively |
| Establishment after transplanting | Week 2–3 | Plant adapts, new dark green leaves forming |
| Harvestable outer leaves | Week 3–4 | Outer leaves can be harvested, cut-and-come-again style |
| Full head regeneration | Week 5–8 | Loose head forms, suitable for full harvest |
In my experience, the cut-and-come-again approach works better for regrown cuttings than waiting for a full head. Harvest the outer leaves regularly from week 3 onwards and the plant keeps producing. If you want a full dense head of cos, growing from seed genuinely gives better results and is worth doing in parallel. If you want to learn the full process of growing cos lettuce from seed, follow the seed-starting steps instead of the cut-and-come-again method grow cos lettuce from seed.
Spacing, feeding, and harvesting the right way
Spacing
Whether you're transplanting into a bed, container, or hydroponic raft, give each cos plant 20–25 cm of space in every direction. Crowding is one of the most common beginner mistakes and leads to poor airflow, fungal problems, and small, poorly formed plants. If you're doing a cut-and-come-again harvest style rather than growing full heads, you can tighten spacing slightly to 15 cm, but no closer than that.
Feeding
Cos lettuce is a leafy crop, so it responds well to nitrogen. In soil or containers, apply a balanced liquid fertiliser (something like a 10-10-10 or similar) at half strength every 2 weeks once the cutting is fully established in its final spot. Don't over-fertilise early: young transplants with fresh roots can get fertiliser burn. In a hydroponic setup, a dedicated lettuce formula handles this automatically as long as you keep the EC (electrical conductivity) in the 0.8–1.6 mS/cm range.
Harvesting
- Cut-and-come-again: remove outer leaves when they reach about 10–15 cm long, cutting at the base with clean scissors. Leave the inner leaves and growing centre intact.
- Full harvest: cut the whole head at the base when the inner leaves have formed a firm, upright bunch. This is typically 5–8 weeks after transplanting.
- Harvest in the morning when leaves are crisp and hydrated for best flavour and shelf life.
- After a full harvest, you can leave the remaining stump in the ground or pot and it may regrow for a second cycle, though leaf quality declines with each regeneration.
When things go wrong: troubleshooting common problems
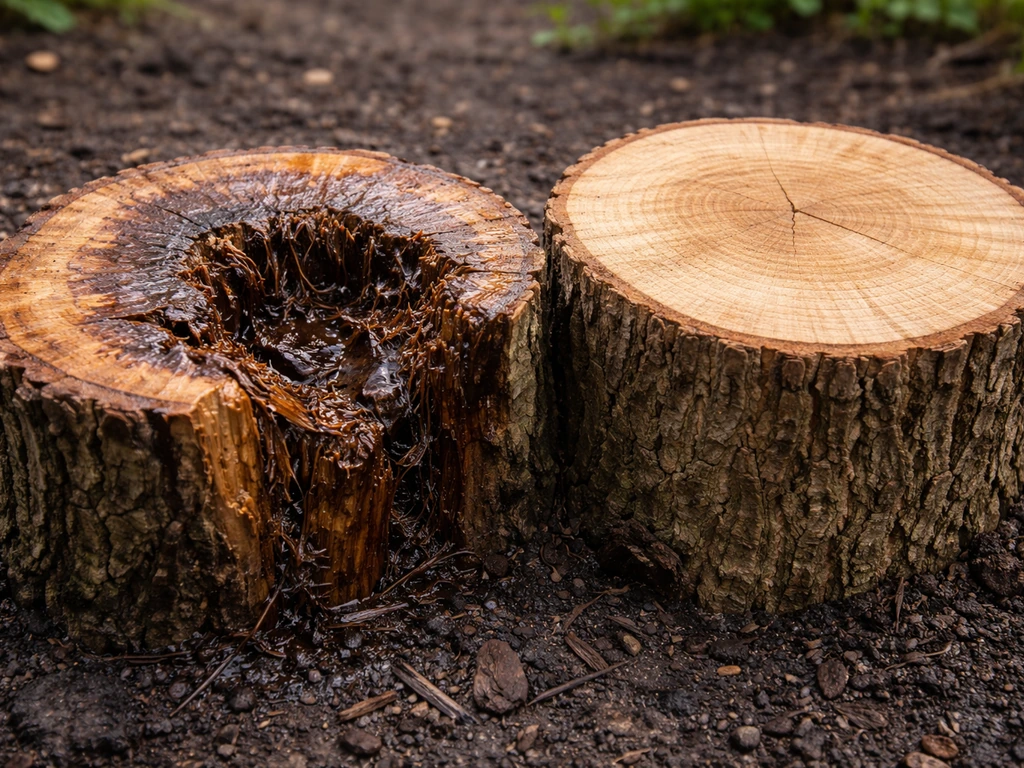
Slimy rot at the base
This is the most common failure with water rooting and it's almost always caused by too much water or not changing it often enough. If you see the base of the stump turning brown and soft, pull it out immediately, trim away the rotten section with a clean knife until you reach firm tissue, and start the water-rooting process again with fresh water. Make sure only the very bottom 1.2 cm or so is in the water, not the whole stump.
No roots after two weeks
A few causes to check: the water may be too warm (above 22°C/72°F slows root formation significantly), the stump may have come from an overly old or damaged plant, or the cutting wasn't trimmed cleanly. Try moving the dish to a cooler spot, refresh the water, and trim a thin slice off the base of the stump with a sharp knife to expose fresh tissue. If there's still no movement after 20 days, that stump isn't going to root and it's time to start fresh.
Wilting after transplanting
Some wilting in the first 1–2 days after transplanting is completely normal. It's transplant shock, especially if you're moving from water to soil. Keep the plant well-watered, out of direct sun, and in a slightly humid environment for a few days. If wilting is severe or persists past day 3, check that the roots haven't dried out and that the soil has good moisture all the way through, not just at the surface.
Bolting (plant going to seed too early)
Bolting is triggered by heat and long daylight hours. If the plant suddenly sends up a tall central stalk and the leaves turn bitter, it's bolting and there's no way to reverse it. Harvest whatever leaves are still usable immediately. To prevent bolting, keep temperatures below 25°C (77°F), provide afternoon shade in summer, and water consistently to avoid drought stress. This is particularly relevant if you're growing cos lettuce in Australia or other warmer climates where managing heat is the primary challenge. Growing in a shadecloth-covered space or indoors can significantly extend your harvest window.
Slow growth or pale leaves
Pale or yellowish leaves usually mean one of three things: not enough light, nitrogen deficiency, or cold temperatures stunting growth. Check your light levels first (cos needs 6–8 hours minimum), then consider a light nitrogen feed if you haven't fertilised recently. If temperatures are below 10°C (50°F), growth will slow considerably and that's normal for the variety.
Pests and leaf damage
Slugs are the biggest pest threat for newly transplanted cuttings, especially in outdoor beds. Use iron phosphate bait or copper tape around container edges as a physical barrier. Aphids can cluster on young inner leaves; knock them off with a strong jet of water or apply insecticidal soap. Check plants every few days during the first couple of weeks after transplanting when they're most vulnerable.
Your next steps and a quick success checklist
If you want to start today, here's the simplest path: grab a fresh cos or romaine head from the supermarket, eat the leaves, trim the stump to 1 inch from the base, remove any outer layers, drop it in a shallow dish with half an inch of water, put it on a windowsill, and change the water every two days. If you want a more specific guide for Parrris Island cos lettuce, follow the same regrow and transplant steps but tune your light and temperature for its cool-season needs how to grow parris island cos lettuce. That's it for the first week. From there, follow the transplanting and care steps above once the roots appear.
- Use the base stump only, not a loose leaf or mid-stem section
- Keep only 1.2 cm of water depth during water rooting
- Change the water every 2–3 days without fail
- Wait for roots to reach at least 2.5 cm before transplanting
- Harden off water-rooted cuttings for 2–3 days before full sun exposure
- Space plants 20–25 cm apart in beds, pots, or hydroponic systems
- Feed with a diluted nitrogen-based fertiliser every 2 weeks once established
- Harvest outer leaves from week 3 onwards for a continuous supply
- Keep temperatures below 25°C to prevent bolting
- Start a second batch from seed alongside your cuttings for a fuller, faster-maturing plant
Regrowing cos from a cutting is genuinely satisfying, and once you've done it once, it becomes second nature. The key lesson most people learn on their first try: don't overwater the rooting dish and don't rush the transplant. Give those roots time to develop properly and the rest of the grow is surprisingly straightforward.
FAQ
Can I grow cos lettuce from a cutting if I only have a single loose leaf or romaine leaf ends?
No. Cos regrows from the stump with the growth point, not from a single leaf blade or mid-stem section. If your leaf has no visible base tissue attached, it won’t form roots or new leaves, so use the bottom 2 to 3 inches (5 to 7.5 cm) of the head or an outer-leaf harvest that leaves a short stump.
How do I know the stump is healthy versus starting to rot in water?
Healthy stumps stay firm and light-colored at the cut end. If you see the base turning brown, getting mushy, or smelling sour, remove it immediately, trim back to firm tissue with a clean knife, and restart in fresh water. Also confirm only about 1.2 cm of the stump is submerged, too much water often triggers rot.
What water should I use for rooting, and does water temperature matter beyond 22°C/72°F?
Use clean, room-temperature water, and avoid letting it warm up in direct sun. Rooting slows quickly as temperatures rise above 22°C/72°F, and warm water also increases rot risk. If your kitchen or windowsill gets hot, move the dish to a cooler spot or a shaded area.
How often should I change the water during rooting?
Aim to refresh every two days, even if it looks clear. Stagnant water lets bacteria build up around the cut tissue and can cause soft rot. If you notice cloudiness earlier than two days, change it sooner.
Can I root directly in soil instead of water, and what’s the biggest difference?
Yes, soil rooting works, but the biggest challenge is moisture control. Keep the stump consistently moist without saturating, since air pockets are useful for preventing rot. If you try soil rooting, keep the cutting sheltered from harsh sun at first because drying out in containers or beds can stall rooting.
When should I transplant, exactly, and what root size is a good target?
Transplant once you have visible roots and they look healthy, typically when they reach around 2 to 3 inches long. If roots are still tiny or barely formed, give it a few more days. Transplanting too early raises the chance of wilting, especially after water-to-soil moves.
Do I need to harden off a water-rooted cutting before putting it in full sun?
Yes, a short hardening-off period helps. After rooting in water, the roots are more sensitive, so keep the plant shaded and sheltered for 2 to 3 days, then gradually expose it to more light. Skipping this is a common cause of sudden wilting despite adequate watering.
What spacing should I use in the ground or containers, and can I plant closer if I only harvest outer leaves?
For full-sized heads, use about 20 to 25 cm spacing. If you are harvesting in a cut-and-come-again style, you can reduce spacing to about 15 cm, but don’t go tighter because crowding reduces airflow and increases fungal problems.
My regrown lettuce tastes bitter or shoots up a tall stalk, is that always bolting?
It’s bolting when you see a tall central flowering stalk and the leaves turn distinctly bitter. This is driven by heat and long daylight, so you cannot reverse it once the stalk is established. The practical move is to harvest usable leaves immediately and then adjust conditions (afternoon shade, cooler temps, consistent watering) to prevent the next round.
Why are my leaves pale or yellow, and what should I check first?
Start with light, since insufficient light is the most common cause of pale growth. Then consider nitrogen if light is adequate and you have not fertilized recently. Cold temperatures can also stall growth, so if nights are below about 10°C/50°F, the plant may look weak even with correct feeding.
How do I fertilize without burning a newly rooted cutting?
Wait until the cutting looks established in its final spot before feeding. A common approach is to use a balanced liquid fertilizer at half strength every 2 weeks, and avoid early, full-strength applications. If you see scorched edges or rapid decline shortly after fertilizing, flush the soil or container with plain water and pause feeding.
In hydroponics, what’s a safe starting nutrient strength and pH range for cos lettuce?
Use a lettuce nutrient formula at half strength for the first week after transferring, then move to full strength once the plant stabilizes. Keep pH roughly in the 6.0 to 7.0 range and control solution temperature, since warm water increases root rot risk.
What’s the most reliable way to prevent water-rooting failure?
Control two things: submersion depth and water quality. Keep only the bottom 1.2 cm in the water, change water every two days, and avoid warm windowsills. If a stump browns and softens, trim to firm tissue and restart rather than trying to save the rotted section.
How do I manage slugs and aphids on regrown cuttings specifically?
Slugs are the biggest early threat outdoors, especially right after transplanting, so use iron phosphate bait or a physical barrier around containers. For aphids, check inner leaves during the first couple of weeks and knock them off with water or use insecticidal soap, rechecking every few days to catch new clusters.
Can I run multiple cuttings for a continuous harvest schedule?
Yes, and it’s one of the easiest ways to stay supplied. Stagger cuttings so you transplant a new batch every 1 to 2 weeks, and use outer-leaf harvesting once plants are established. This spreads peak bolting risk over time, since heat spikes affect whole batches at once.